15 Terminal Commands to Make macOS Faster and More Convenient
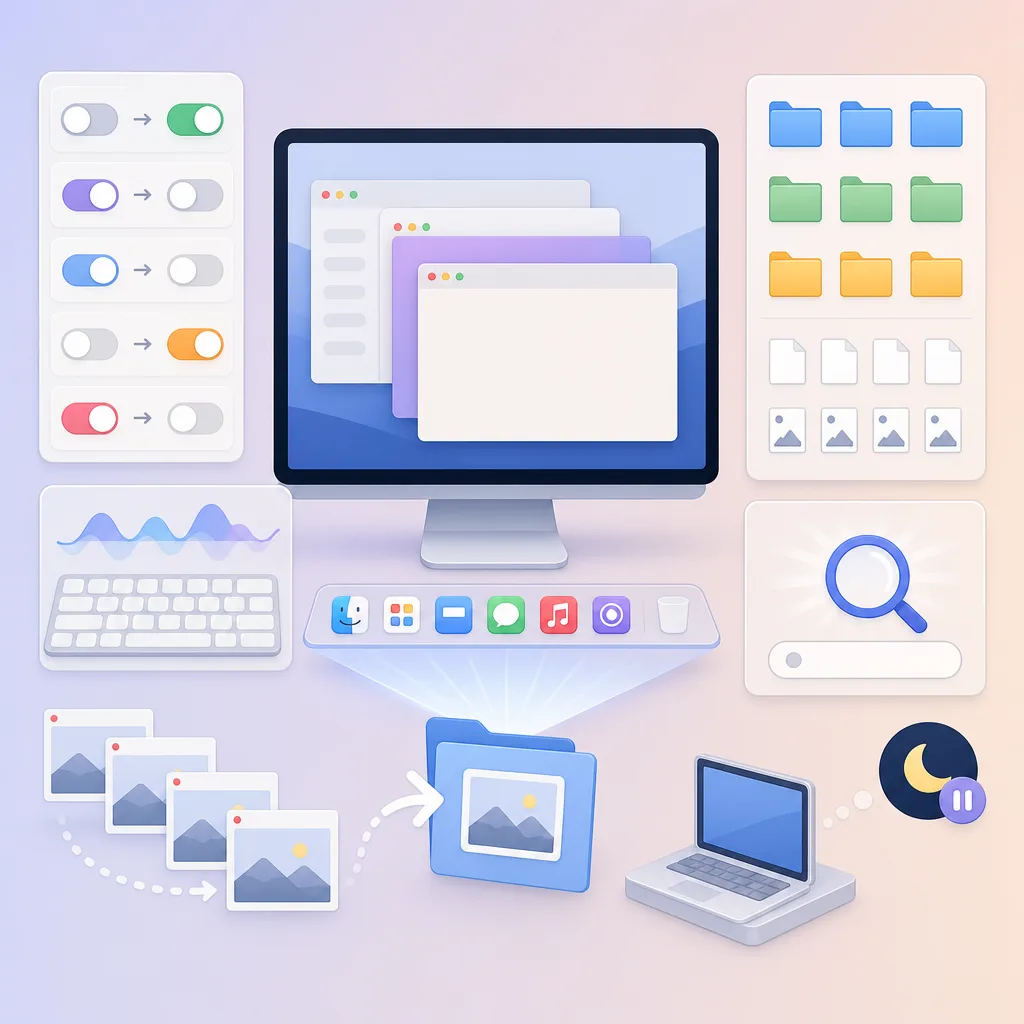
This guide explains 15 terminal commands for adjusting key repeat, Dock responsiveness, screenshot saving, Finder behavior, and sleep prevention in macOS. It also covers how to apply and restore each setting, along with version-specific caveats.
- Open Terminal and record both the command for the setting you want to change and its restoration command.
- After changing the key repeat and smart quotes settings, relaunch the apps you use and check the input results.
- Adjust the Dock and window animations, then restart the Dock or the relevant apps.
- After applying the screenshot and Finder settings, check the save location, search scope, and sorting results.
- Prevent sleep only when necessary, and if an issue occurs, revert each setting using its restoration command.
Many macOS user settings can be fine-tuned with the defaults command in Terminal. The following 15 settings focus on improving keyboard input, Dock responsiveness, screenshot management, Finder navigation, and the environment for long-running tasks.
Some values changed with defaults are internal preference keys rather than options officially provided by Apple in System Settings. Because their behavior or key names may change after a macOS update, it is safest to apply only the settings you need and keep the restoration commands as well.
Things to Check Before Starting
-
Open Terminal: In Finder, launch
Applications > Utilities > Terminal. - Run one line at a time: Do not paste multiple commands at once; run each command and check the result.
- Quit the app: If the target app is running, it may save its existing preferences again. If possible, quit the app before making changes.
-
Administrator privileges are generally unnecessary: The settings below apply to the current user account, so most do not require
sudo. -
Understand what will restart:
killall Finderandkillall Dockterminate those processes, but macOS immediately launches them again. The state of open Finder windows may change.
To check the current values first, use the following format.
defaults read NSGlobalDomain KeyRepeat
defaults read com.apple.finder FXDefaultSearchScope
If you see a message saying that the value does not exist, the key may not yet have been explicitly set.
Keyboard Input Settings
1. Change Press-and-Hold for Letters to Key Repeat
By default, pressing and holding certain letters in macOS displays a menu for selecting accented characters. Disabling this behavior makes the same character repeat while the key is held down.
defaults write NSGlobalDomain ApplePressAndHoldEnabled -bool false
After making the change, completely quit and relaunch the app you are using. Depending on the app, you may need to log out or restart.
Restore:
defaults delete NSGlobalDomain ApplePressAndHoldEnabled
Disabling this setting makes it difficult to use the accented-character selection menu, so users who type in multiple languages should first confirm that their keyboard shortcuts or input sources are sufficient.
2. Shorten the Key Repeat Interval and Initial Repeat Delay
KeyRepeat represents the interval between repeated inputs, while InitialKeyRepeat represents the delay between the initial keypress and the start of repetition. Lower values are faster.
defaults write NSGlobalDomain KeyRepeat -int 1
defaults write NSGlobalDomain InitialKeyRepeat -int 10
If the settings are too fast, characters may be entered multiple times unintentionally. You can start by setting KeyRepeat to 2 and InitialKeyRepeat to around 15, then adjust them. You may need to log out or restart your Mac for the changes to take effect.
Restore:
defaults delete NSGlobalDomain KeyRepeat
defaults delete NSGlobalDomain InitialKeyRepeat
3. Disable Automatic Smart Quote Substitution
In code, JSON, commands, and configuration files, straight quotes and curly smart quotes are treated as different characters. Run the following command to disable automatic substitution globally.
defaults write NSGlobalDomain NSAutomaticQuoteSubstitutionEnabled -bool false
Restore:
defaults delete NSGlobalDomain NSAutomaticQuoteSubstitutionEnabled
Some editors and word processors use their own input settings, so you may also need to disable the smart quotes option within the app.
Adjusting Dock Responsiveness
4. Remove the Dock Auto-Show Delay and Animation
First, press Option + Command + D to enable automatic Dock hiding. Then set both the delay before the Dock appears when you move the pointer to the edge of the screen and the duration of the Dock animation to 0.
defaults write com.apple.dock autohide-delay -float 0
defaults write com.apple.dock autohide-time-modifier -float 0
killall Dock
Restore:
defaults delete com.apple.dock autohide-delay
defaults delete com.apple.dock autohide-time-modifier
killall Dock
If you want to retain the animation while only increasing its speed, you can use a value greater than 0, such as 0.15, for autohide-time-modifier.
Reducing System Animations
5. Disable Some Window Animations
The following global setting disables window opening and closing animations in apps that honor it.
defaults write NSGlobalDomain NSAutomaticWindowAnimationsEnabled -bool false
Restore:
defaults delete NSGlobalDomain NSAutomaticWindowAnimationsEnabled
Recent macOS apps may ignore this internal setting, so the same result is not guaranteed for every window. To also use the official setting provided by Apple, enable System Settings > Accessibility > Display > Reduce motion. Reduce Motion simplifies screen transition effects rather than eliminating animations entirely.
Screenshot Settings
6. Remove Shadows from Window Screenshots
This excludes the shadow around a window when capturing it by pressing Shift + Command + 4, then Space, and selecting the window.
defaults write com.apple.screencapture disable-shadow -bool true
killall SystemUIServer
Restore:
defaults delete com.apple.screencapture disable-shadow
killall SystemUIServer
7. Disable the Preview Thumbnail After Capturing
This disables the small preview that appears in the lower-right corner of the screen immediately after taking a screenshot.
defaults write com.apple.screencapture show-thumbnail -bool false
killall SystemUIServer
Restore:
defaults delete com.apple.screencapture show-thumbnail
killall SystemUIServer
You can also enable or disable the preview under Shift + Command + 5 > Options > Show Floating Thumbnail.
8. Change the Screenshot Save Folder
First, create a dedicated screenshot folder inside the Pictures folder and set it as the save location.
mkdir -p "$HOME/Pictures/Screenshots"
defaults write com.apple.screencapture location -string "$HOME/Pictures/Screenshots"
killall SystemUIServer
If the path contains spaces, you must enclose it in double quotes. Deleting the folder or specifying a location you do not have permission to access may cause problems when saving captures.
Restore to the default Desktop:
defaults write com.apple.screencapture location -string "$HOME/Desktop"
killall SystemUIServer
Finder Navigation Settings
9. Display the Full Path in the Finder Title and Enable the Status Bar
This displays the full POSIX path of the current folder in the Finder window title and enables the status bar at the bottom of the window, which shows information such as the number of items and remaining space.
defaults write com.apple.finder _FXShowPosixPathInTitle -bool true
defaults write com.apple.finder ShowStatusBar -bool true
killall Finder
If you need the path bar itself, select View > Show Path Bar from the Finder menu or press Option + Command + P. You can also toggle the status bar with Command + /.
Restore:
defaults delete com.apple.finder _FXShowPosixPathInTitle
defaults delete com.apple.finder ShowStatusBar
killall Finder
10. Change the Default Finder Search Scope to the Current Folder
This makes Finder search the currently open folder first, rather than the entire Mac, when you enter a search term in the Finder search field.
defaults write com.apple.finder FXDefaultSearchScope -string "SCcf"
killall Finder
Restore:
defaults delete com.apple.finder FXDefaultSearchScope
killall Finder
On macOS versions that provide the same option in Finder settings, selecting the current-folder search option under Finder > Settings > Advanced > When performing a search is more reliable.
11. Display Folders at the Top When Sorting by Name
This makes folders appear before files when viewing files and folders sorted by name.
defaults write com.apple.finder _FXSortFoldersFirst -bool true
killall Finder
Restore:
defaults delete com.apple.finder _FXSortFoldersFirst
killall Finder
The result may vary depending on the sorting method and Finder view type. In recent versions of macOS, you can also use the option in Finder’s Advanced settings to keep folders on top.
12. Disable the File Extension Change Warning
This disables the confirmation warning shown when changing a filename extension such as .png, .txt, or .mp4.
defaults write com.apple.finder FXEnableExtensionChangeWarning -bool false
killall Finder
Restore:
defaults delete com.apple.finder FXEnableExtensionChangeWarning
killall Finder
Renaming an extension does not convert the actual file format. For example, simply renaming a PNG file to JPG leaves the internal data in PNG format, so you need an image editor or conversion tool to convert the format.
Finder and Desktop Hiding Features
13. Add a Quit Menu Item to Finder
This adds a Quit item to the Finder menu.
defaults write com.apple.finder QuitMenuItem -bool true
killall Finder
When you quit Finder, Finder windows and desktop icons may disappear together. To reopen it, click Finder in the Dock or launch Finder from Spotlight.
Restore:
defaults delete com.apple.finder QuitMenuItem
killall Finder
14. Hide All File Icons on the Desktop
You can hide desktop items before a video conference or screen-sharing session.
defaults write com.apple.finder CreateDesktop -bool false
killall Finder
This command does not delete or move any files. The files remain in place when you open the Desktop folder in Finder.
Show them again:
defaults write com.apple.finder CreateDesktop -bool true
killall Finder
Preventing Mac Sleep
15. Temporarily Prevent Sleep While Working
Running caffeinate in Terminal can prevent specified types of sleep while the process is running. For general long-running tasks, use the following command.
caffeinate -i
To stop it, press Control + C in that Terminal window. To prevent sleep only while a specific command is running, place it before the command.
caffeinate -i your-command
The main options are as follows.
| Option | What It Prevents |
|---|---|
-i |
System sleep due to inactivity |
-d |
Display sleep |
-m |
Disk idle mode |
-s |
System sleep while using AC power |
-t seconds |
Runs for the specified duration |
For example, to prevent idle system sleep and display sleep for one hour, run the following.
caffeinate -id -t 3600
caffeinate is not a way to always override a low battery, forced shutdown, user-initiated sleep, or closing a MacBook lid. When using a Mac like a server for long periods, you must separately plan for power connections, heat, battery condition, network recovery, and automatic startup after a restart.
What to Check When Settings Do Not Take Effect
- Check whether the command’s double quotes were changed to smart quotes.
- Restart Finder, Dock, SystemUIServer, or the target app.
- Test input settings again after logging out or restarting.
- On a Mac managed by a company or school, a configuration profile may overwrite user settings again.
- If an app uses its own preferences, the global macOS settings may not apply.
- Internal preference keys may stop working after a macOS update.
A Safe Approach to Reverting Settings
These commands can make the system feel faster, but they can also significantly change how you use it. Rather than applying all 15 at once, it is better to make changes by category, such as keyboard, Dock, or Finder, and use them for about a day.
defaults delete domain key removes a value explicitly set by the user, allowing the app or macOS to select its default behavior again. However, if the screen does not change immediately after deletion, you may need to restart the related process or log out. In particular, automation scripts that depend on internal keys should be revalidated before upgrading macOS.
FAQ
Do I need sudo to run this command?
Most of these commands change the current user account's preferences, so sudo is not required. Adding sudo may apply the settings to an unintended user or system area, so it is best not to use it unless there is a specific reason to do so.
Why don't the changes take effect immediately after running the defaults command?
The app or system process may be keeping the existing settings in memory. Relaunch Finder, Dock, SystemUIServer, or the target app, and for keyboard settings, check again after logging out or restarting.
Can I reset all the settings at once?
Deleting all preferences for a specific app is not recommended because it may also remove other personal settings. It is safer to remove only the changed keys one at a time using the defaults delete command provided for each item.
Why are characters still being automatically converted even after I turned off smart quotes?
Some word processors, note-taking apps, and editors use their own autocorrection features separately from the global macOS settings. You must also turn off smart quotes in the relevant app's input, autocorrection, or formatting settings.
If I run caffeinate, will it keep working even when I close the MacBook lid?
Not always. caffeinate prevents the specified sleep conditions, but it does not override every situation, such as closing the lid, low battery, or shutdown. To operate with the lid closed, you must separately check conditions supported by macOS, such as an external display and power requirements.
Could the commands stop working after a macOS update?
Yes. Although defaults itself is a macOS command, some Finder or Dock preference keys depend on internal implementations rather than a public user interface. After an update, you should check the current values and test each item again.
Does hiding desktop icons delete the files?
No. It only prevents Finder from displaying desktop items; the files remain in the Desktop folder. Change the CreateDesktop value to true and relaunch Finder to display them again.
Sources
Images