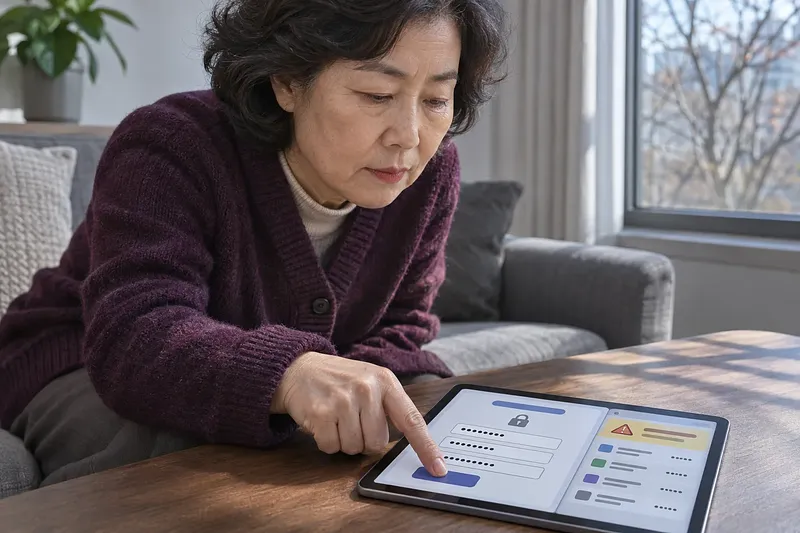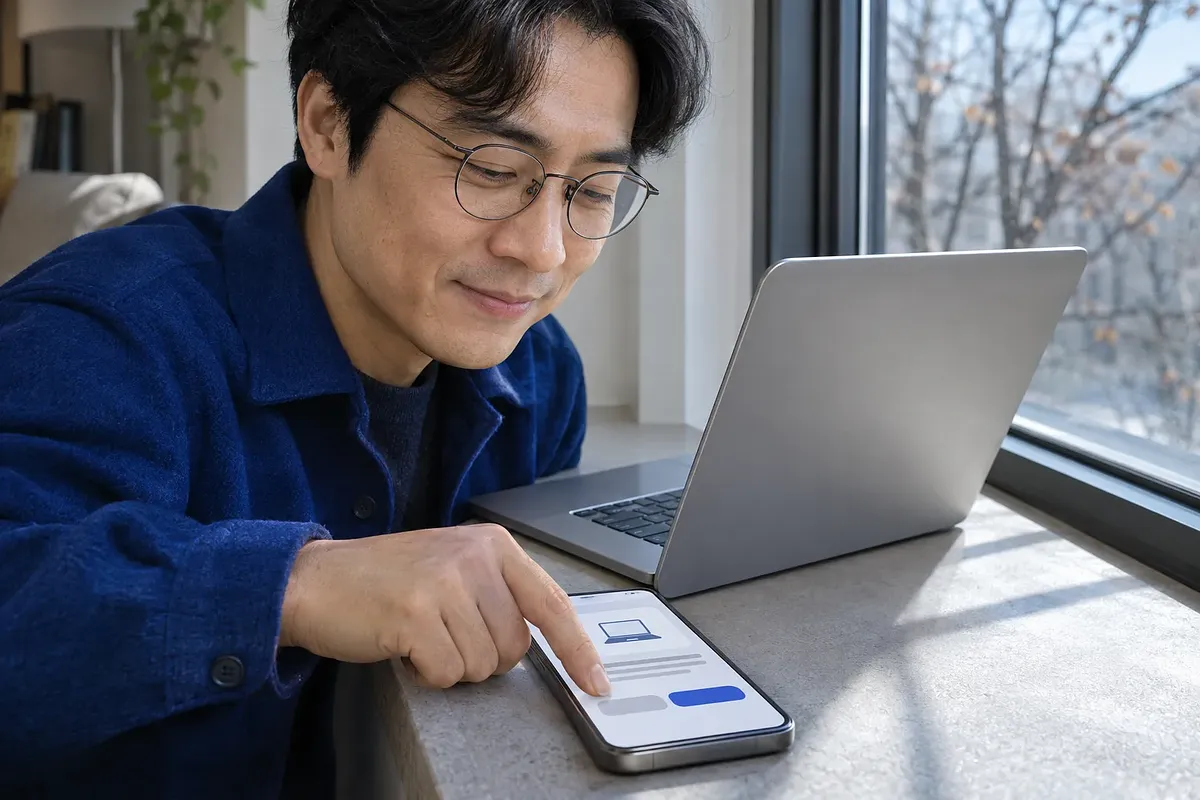
Turn on 2-step verification in the security settings of the account you want to protect. Have your password and the device you’ll use for verification ready. For Naver, register the Naver app. For Kakao, register KakaoTalk or a phone number. For Google and Apple, also check which verification methods you can use if you lose your phone.
The setup paths and code lengths are based on each service’s official help documentation, consulted on November 18, 2026.
Where to set up 2-step verification for each account
Start with the accounts you use and follow the steps below. Apple calls this feature “two-factor authentication.” Menu names may vary by app version.
Approve sign-ins with the Naver app
Start setup on your PC and finish it in the Naver app on your smartphone.
- Update the Naver app on your smartphone to the latest version.
- Sign in to the app with the Naver ID you want to protect.
- On the Naver homepage on your PC, select “Naver ID” in the upper-right corner.
- Go to “Security Settings > 2-Step Verification,” select “Set up,” and reenter your password.
- Choose the device you own that you want to receive verification notifications on, then select “Next.”
- In the Naver app, check the verification request you just made and select “Yes.”
The next time you sign in with your password, you’ll get an approval notification on the registered device. The device list may also show smartphones you’ve used to sign in before. According to the Naver Help Center, devices without a USIM or without calling capabilities, such as an iPad, cannot generate OTP verification information.
Set up verification in KakaoTalk or on the Kakao Account website
You can set up verification for your Kakao Account in KakaoTalk or on the web, whichever is more convenient.
- In KakaoTalk, open “More (…) > Settings > Kakao Account > 2-Step Verification.” On the web, go to “Account Security > 2-Step Verification” on the Kakao Account website.
- Choose KakaoTalk or your contact phone number as your verification method.
- Register an emergency contact email address you can access if you can’t use your phone.
If you get a sign-in confirmation message in KakaoTalk, check whether you tried to sign in. If you didn’t make the request, select “No, that’s not me.” The sign-in attempt will be blocked.
Turn on 2-Step Verification for your Google Account
In your Google Account, go to “Security & sign-in” to register the verification methods you want to use.
- Sign in to the Google Account you want to protect and open “Security & sign-in.”
- Under “How you sign in to Google,” select “Turn on 2-Step Verification.”
- Follow the on-screen instructions to register the verification methods you want to use.
Turn on two-factor authentication for your Apple Account on iPhone
On your iPhone, you can check whether two-factor authentication is on under “Sign-In & Security.”
- Open “Settings > [your name] > Sign-In & Security.”
- If two-factor authentication is off, turn it on and follow the on-screen instructions.
- Make sure you can receive a verification code at a trusted phone number.
The first time you sign in on a new device or on the web, you’ll need your account password and a 6-digit verification code. The code appears on a trusted device or is sent to a trusted phone number. Enter it only on a sign-in screen you opened yourself.
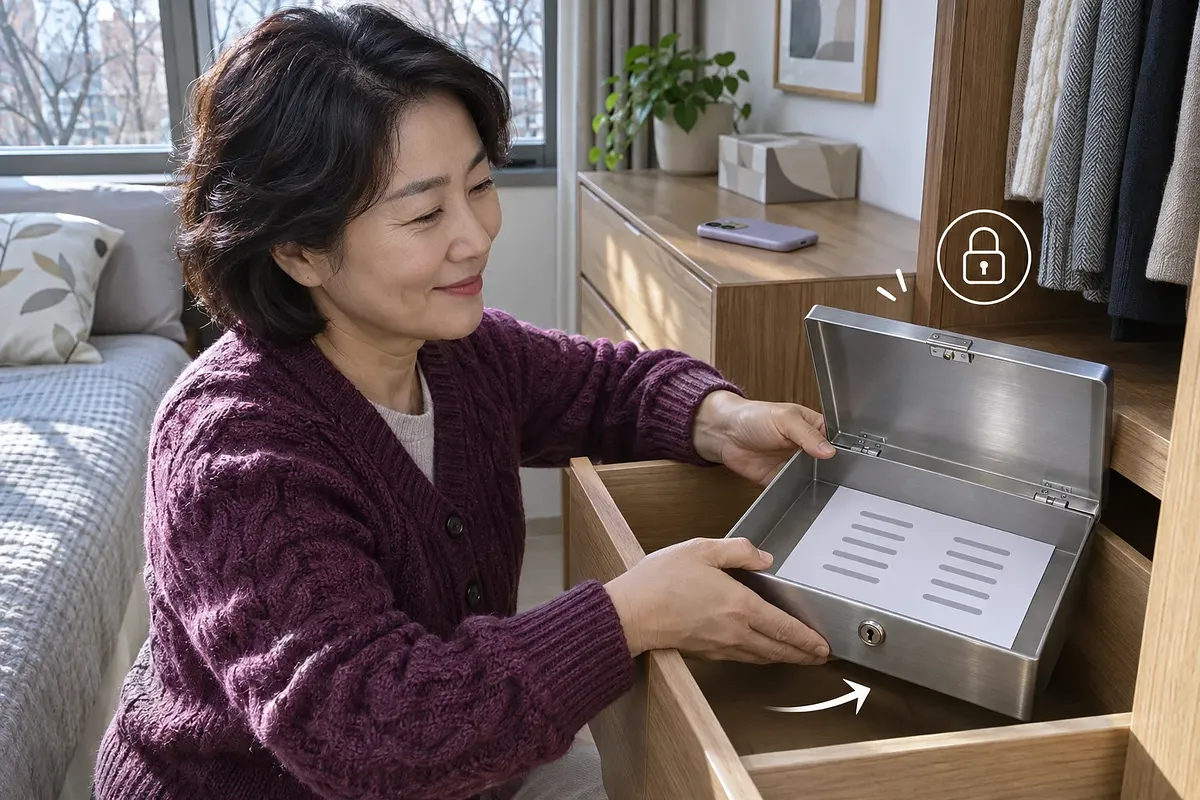
Check your recovery options in advance so you can sign in even if you lose your registered phone.
Why 2-step verification is recommended after a confirmed leak
When you sign in with your password, 2-step verification uses a method you’ve registered to check your identity again. Even if your password is leaked, this makes it harder for someone else to sign in with just that password. The Personal Information Protection Commission recommends changing your password or setting up 2-step verification if “Find My Leaked Information” confirms a leak.
Comparing Google prompts, authenticator apps, text messages, and passkeys
Choose Google prompts if you want to approve sign-ins from a notification on your phone. If you need to get a code without a network connection, you can use an authenticator app you’ve already set up. Passkeys and hardware security keys can help protect against phishing.
| Verification method | What to do when signing in | What to check when choosing a method |
|---|---|---|
| Google prompts | Approve your own request from the notification on a phone where you’re signed in | Check the device and location shown in the notification |
| Authenticator app such as Google Authenticator | Enter the one-time password (OTP) generated by the app on the sign-in screen | Once set up, the app can generate codes without an internet or cellular connection |
| Text message or voice call | Enter the 6-digit code sent to your registered number | This strengthens account security but may be vulnerable to attacks that hijack your phone number |
| Passkey | Verify your identity with your fingerprint, face, or device screen lock | Signing in with a passkey skips the separate second verification step |
| Hardware security key | Connect your registered physical key to the device to verify your identity | You need to have the key with you when you sign in |
Don’t share verification codes or recovery codes with anyone. Don’t read out a code over the phone, even if the caller says they work for Google.
“Google does not call you to verify a code.” (Google Account Help, “Turn on 2-Step Verification”)
Check your recovery options before losing your phone or changing your number
Make sure you can access your email or retrieve your codes without the phone you use now. If your authenticator app and your only copy of your recovery codes are both on the same phone, you won’t be able to use either if you lose it.
| Account | What to check ahead of time | What to do if you can’t use your phone |
|---|---|---|
| Naver | The device that receives verification notifications and the Naver app | If you deleted the app from the registered device, follow the Naver Help Center instructions to turn off 2-step verification and set it up again |
| Kakao | An emergency contact email address you can access from another device | Select “Verify by email” at the bottom of the KakaoTalk or phone number verification screen. After verification, switch to a phone number or KakaoTalk account you can use |
| The 8-digit recovery codes you got in advance under “2-Step Verification > Backup codes” | Select “Try another way” on the sign-in screen and enter one unused backup code | |
| Apple | A trusted device and another trusted phone number that can receive verification codes | Verify on another trusted device or receive a code at a trusted phone number |
How to store Google backup codes
Google’s recovery codes are labeled “Backup codes” in settings.
- After turning on 2-Step Verification, open “How you sign in to Google > 2-Step Verification.”
- Under “Backup codes,” select “Get backup codes.”
- Print the codes and keep them somewhere safe away from your phone.
Each code can be used only once. If you generate a new set, the previous set becomes invalid. Google only asks for recovery codes when you sign in.
What to check before enabling an Apple recovery key
An Apple recovery key is a 28-character code that isn’t required when you turn on two-factor authentication. Setting up a recovery key turns off Apple’s standard account recovery process. If you lose access to your account and can’t provide the recovery key when required, you’ll permanently lose access to your account.
According to Apple Support’s “Set up a recovery key for your Apple Account,” Apple can’t give you your key again if you lose it. If you decide to use one, print it or write it down on paper and keep it somewhere safe. Don’t store it in Apple’s Passwords app, iCloud Photos, Notes, or iCloud Drive.
How to track tasks in My Information Security Check
In [To-do] in My Information Security Check, you can record the steps you’ve completed yourself.
- In [To-do], open the item that fits your situation: “ID and password,” “Email,” or “Not sure.”
- Turn on 2-step verification in the security settings of the service you want to protect.
- When you’re done, return to [To-do] and check off “Turn on 2-step verification.”
Your checkmarks are saved only in that browser. My Information Security Check can’t see the verification status of any account. To confirm that verification is on, check the security settings for each account.